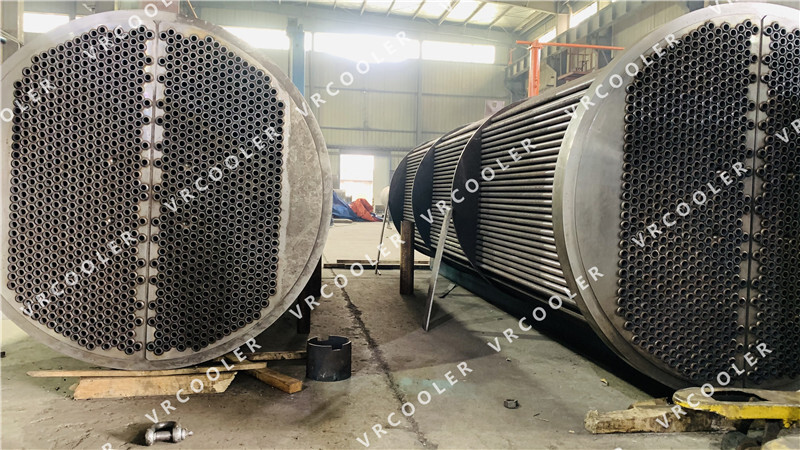
Cleaning a shell and tube heat exchanger is essential to maintain its efficiency and prolong its lifespan. Here are the steps to clean a shell and tube heat exchanger:
1. Shut Down and Isolate the Heat Exchanger:
Turn off the heat exchanger and isolate it from the process system. This involves closing valves on both the shell side and tube side to prevent the flow of fluids.
Allow the heat exchanger to cool down to a safe temperature before proceeding with cleaning.
2. Remove External Components:
Remove any external insulation, covers, or accessories to access the heat exchanger. This will make it easier to clean and inspect the unit.
3. Flush with Water:
On the tube side, flush with clean water to remove loose debris and sediments. This can be done by connecting a hose to one end of the tubes and allowing water to flow through.
On the shell side, if possible, flush with water to remove any large particles or deposits.
4. Chemical Cleaning:
Depending on the nature of the fouling, chemical cleaning may be necessary. Select a suitable cleaning agent based on the type of fouling (e.g., scale, rust, oil, or biological growth).
Follow the manufacturer's instructions for mixing and applying the cleaning agent. Typically, the cleaning agent is circulated through the heat exchanger for a specified period of time.
Monitor the cleaning process to ensure that the cleaning agent is effective and not causing any damage to the heat exchanger.
5. Mechanical Cleaning:
For heavy fouling or when chemical cleaning is not sufficient, mechanical cleaning methods can be used. This may include brushing, scraping, or using high-pressure water jets.
Be careful not to damage the tube walls or other components during mechanical cleaning.
6. Rinse and Inspection:
After chemical or mechanical cleaning, thoroughly rinse the heat exchanger with clean water to remove any remaining cleaning agent or debris.
Inspect the heat exchanger for any signs of damage, such as bent tubes, leaks, or corrosion. Repair or replace any damaged components as necessary.
7. Reassemble and Test:
Once the heat exchanger is clean and inspected, reassemble any removed components and reinstall insulation or covers.
Test the heat exchanger by starting up the process system and monitoring the heat transfer performance and pressure drop. Make any necessary adjustments to ensure optimal operation.
It is important to note that cleaning a shell and tube heat exchanger should be done by trained personnel following proper safety procedures. Additionally, regular maintenance and cleaning can help prevent fouling and extend the life of the heat exchanger.


